Changing battery of robot vaccum Lefant M213S
Two weeks ago I noticed that M213S wasn’t charging correctly (the led was red and it was beeping awfuly loud), so I thought that maybe it was the battery.
I bought this vaccum used a few years ago thus the lifespan I think it was normal.
The new battery
I bought this one in Amazon1 (but you can find it cheapear in Aliexpress)
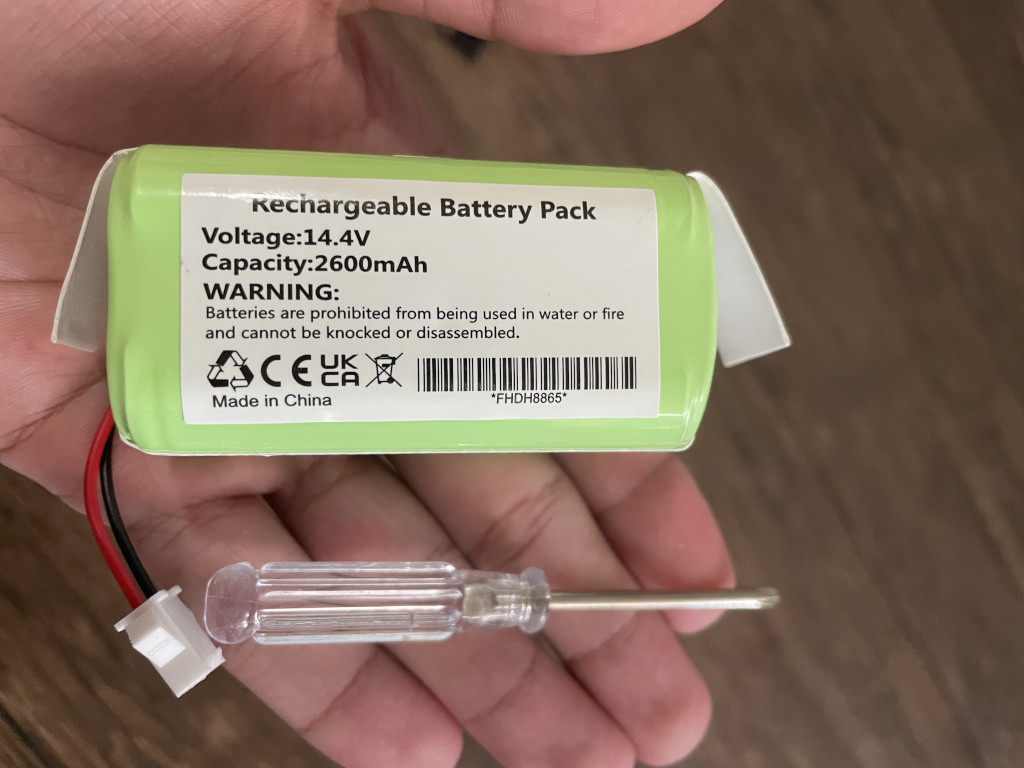 The new battery
The steps I did to do the replacement:
-
Make sure the vaccum’s switch is off.
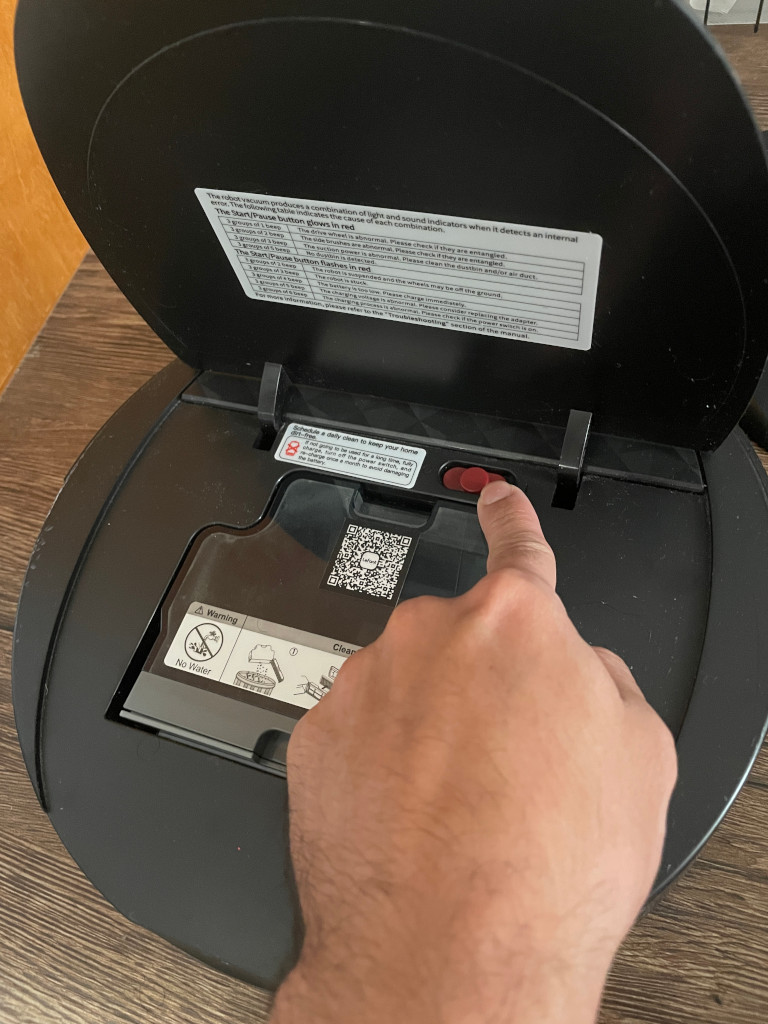 Shutting down the vaccum
 -
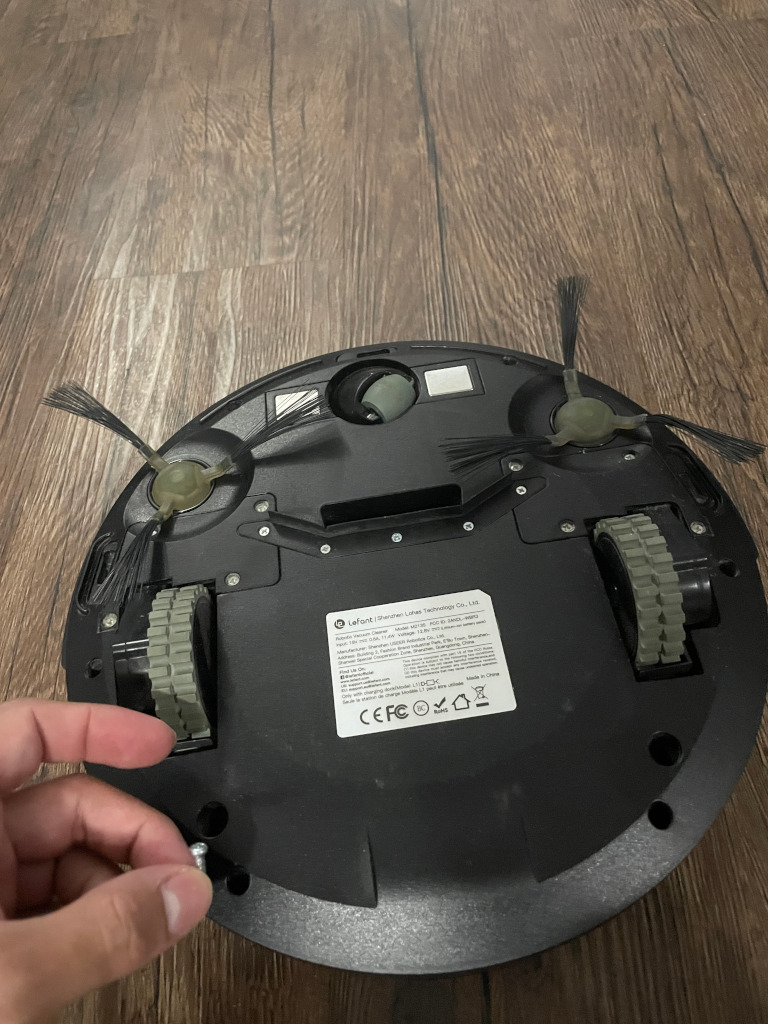
Remove all 6 small screws from the bottom. You are going to need the small screwdriver that came with the battery replacement.
 Screws location
 -
Remove the top. Be careful to not pull the cables.
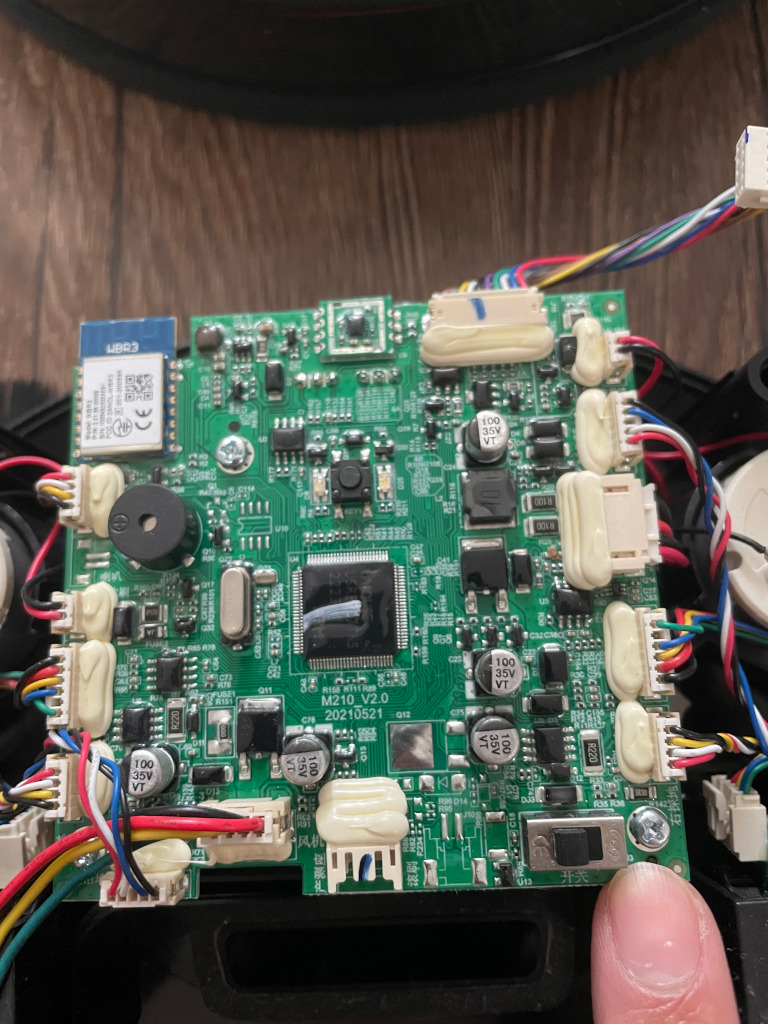
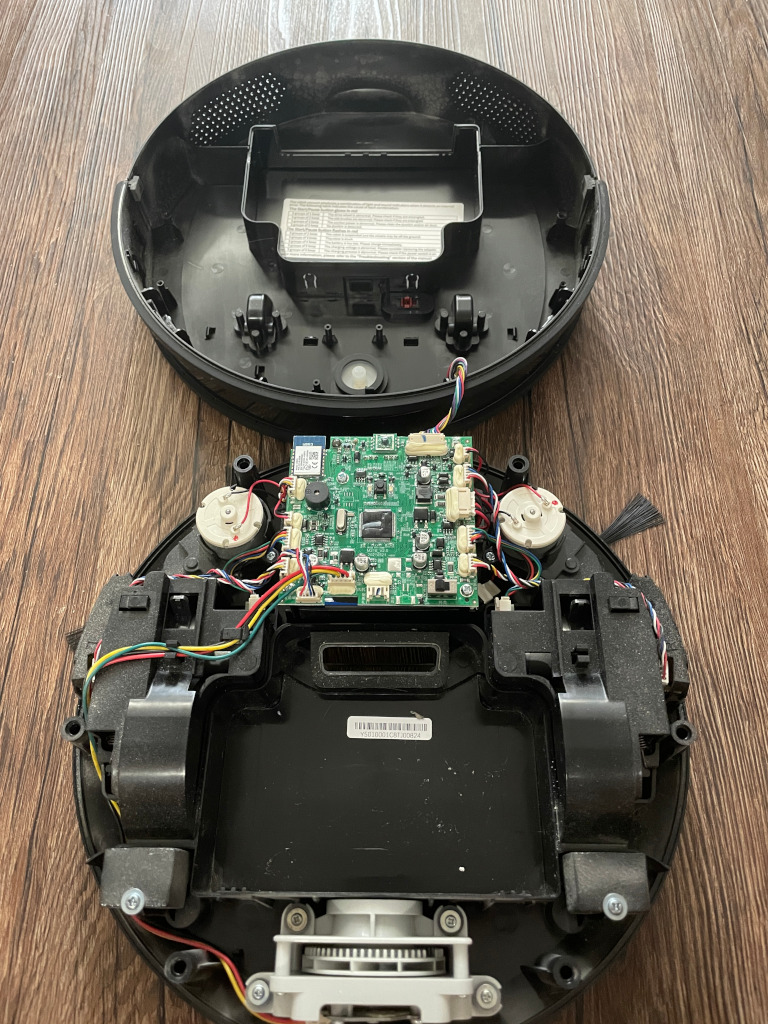 How it looks inside
 -
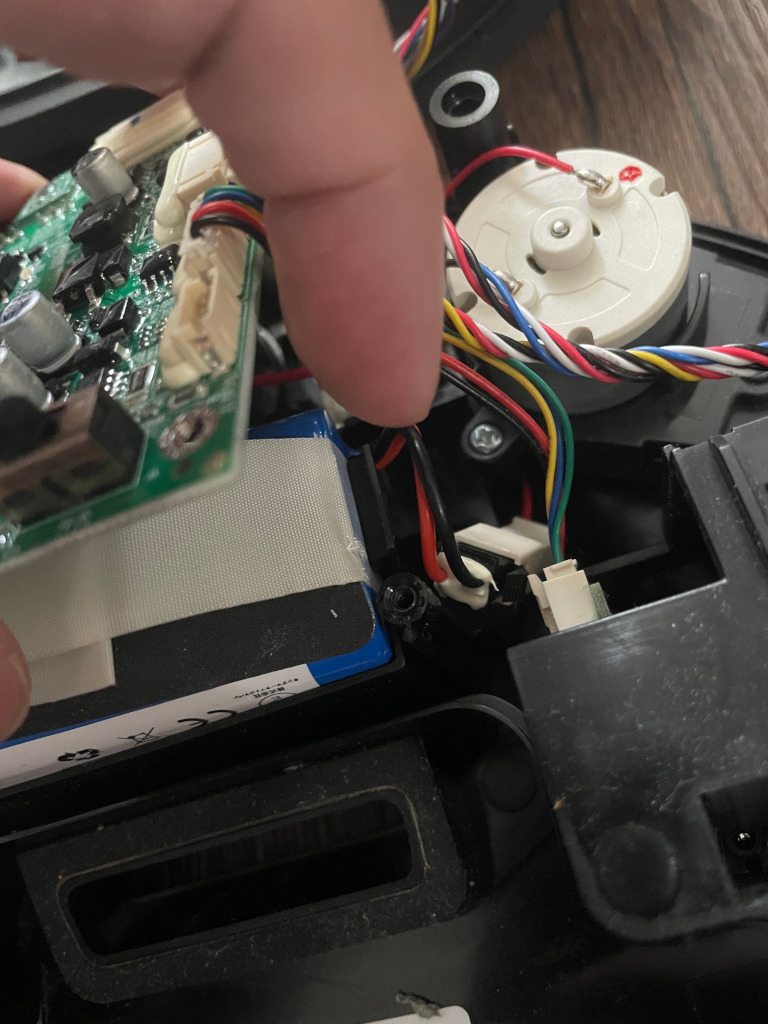
I disconnected these sensor cables to make easier the next steps.
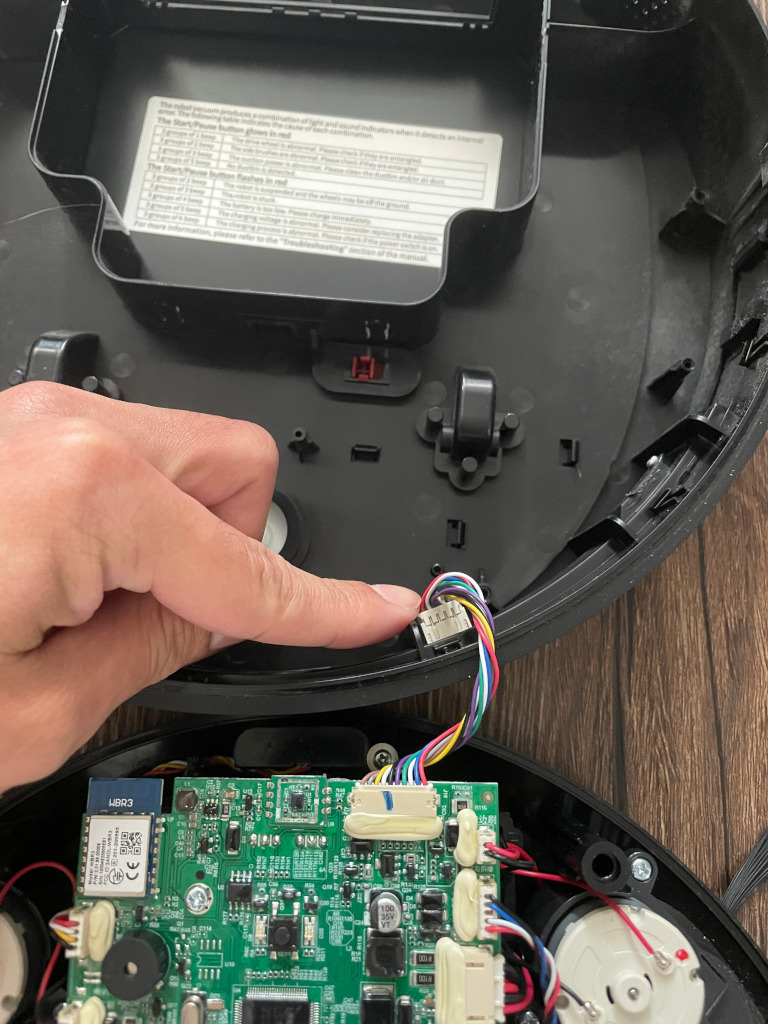 These should be the IR cables
 -
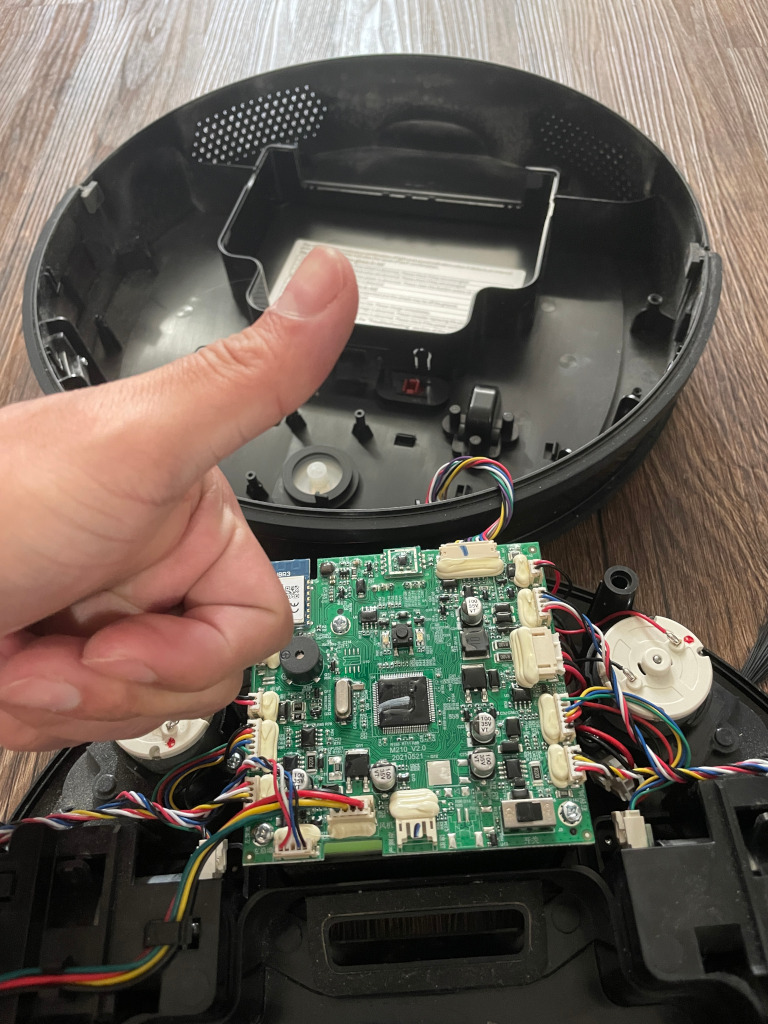
Remove the screws that keep the board attached to the vaccum.
 There are 3 screws in this board
 -
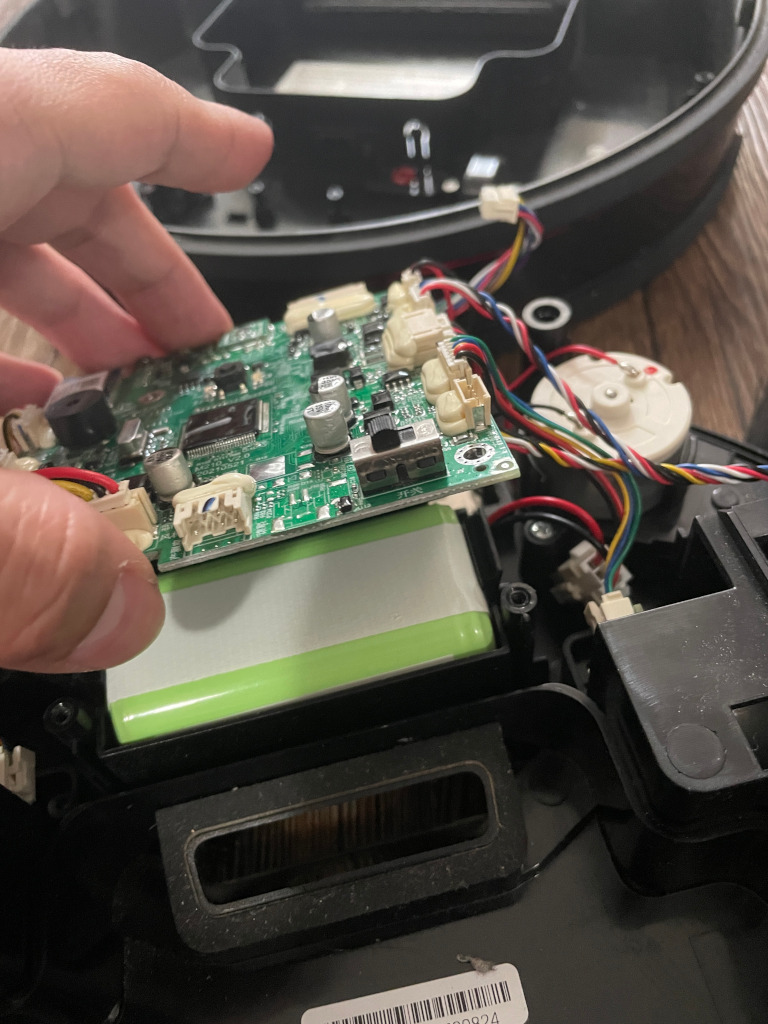
Lift a little bit the board to get access to the battery. Probably you are going to need to disconnect more cables.
 You can see the original blue battery
 -
Replace the battery and connect the battery. The batteries are keep in place by pression.
 New battery in position
 -
We are almost done, now you need to reconnect all the cables and put the screws into the board.
 The board with the cables and screws
 -
Put the external screws again.
 It’s easier now
 -
The robot vaccum is charging fine. Now the leed is blue.
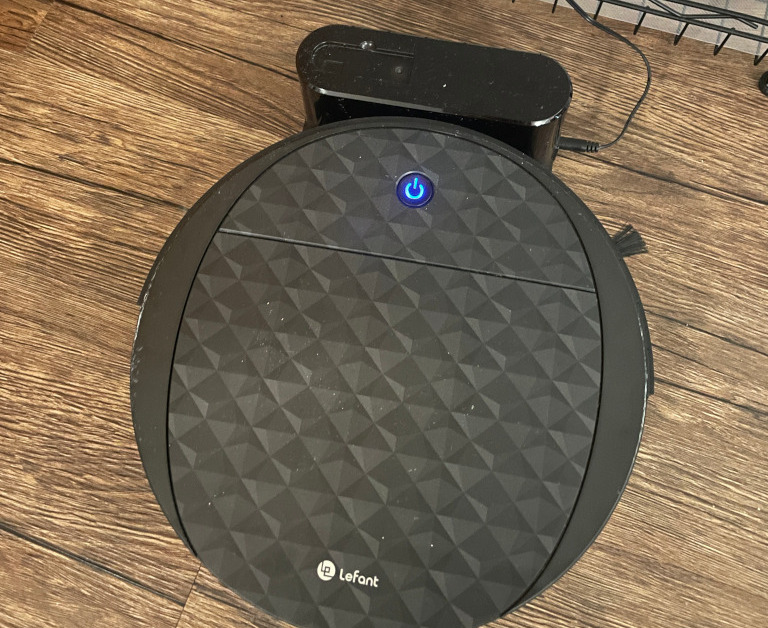 Problem resolved
I tested a couple of times and it is working fine again.
The old battery
This is the original battery in case you want to see the details.
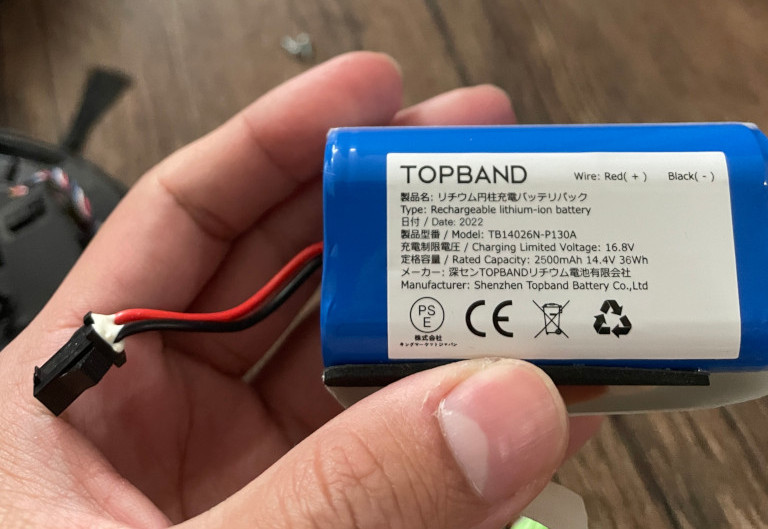 Original battery
The new one is 100mah bigger, I expect the vacuum will work a little bit more.